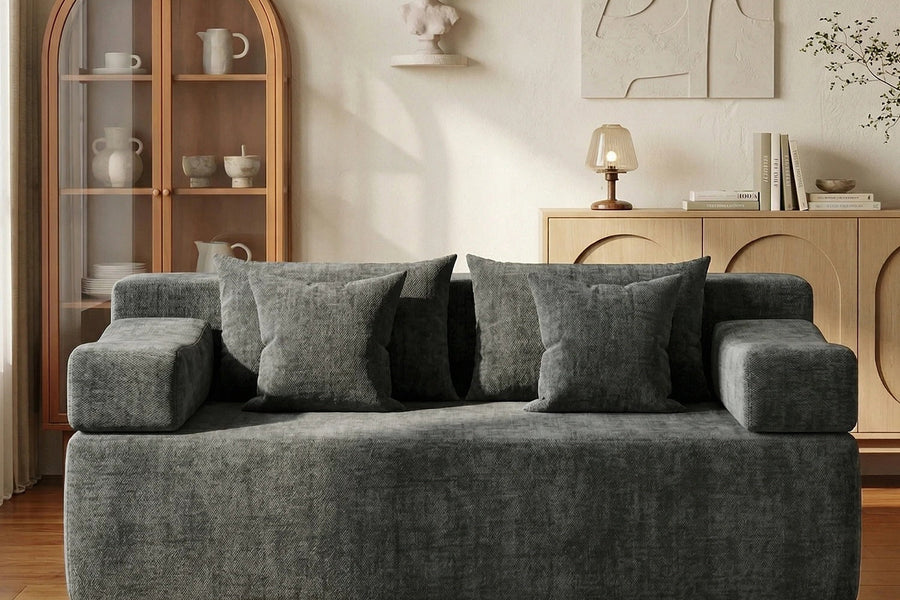


Living Room Layout
How to Arrange a Sofa and Loveseat—or Two Sofas—in a Living Room
Place two independent seating pieces around one shared center, then verify exact footprints, routes, table gaps and daily use before committing to the layout.
On this page
Arrange a sofa and loveseat—or two sofas—by treating them as one layout group, not two objects to center on separate walls. Record each exact outside footprint and facing direction, place the piece that serves the primary daily use first, then give the second piece one clear relationship to it: an open L, face-to-face, or back-to-back in a true two-zone room. Draw the shared center, table zone and main route separately, and approve the plan only after the occupied room works.

Record six fields before you move anything
Measure the usable room, not just wall to wall. Exclude the full sweep of doors, the working depth of cabinets, hearths, radiators, vents, curtains and any object that must remain accessible. Then use the outside width and depth of the exact selected products. “Sofa” and “loveseat” do not supply a footprint: current Monvane pages, for example, list one Chenille loveseat at 69.3 inches wide by 43.3 inches deep and the 2 Seater at 75 inches wide by 37.4 inches deep.
Make one layout card with these six fields:
- Usable room boundary. Record the clear inside length and width after fixed no-go zones are removed.
- Fixed zones. Draw door swings, service access, windows or curtains, heat sources, media units and every route that cannot move.
- Piece A. Draw its exact outside rectangle. Mark one anchor point at the center of its front edge and add an arrow showing where the seats face.
- Piece B. Record the same rectangle, front-center anchor and facing arrow. Keep it independent even when the two products are identical.
- Relationship zone. Draw the shared table, conversation center or deliberate back-to-back boundary between the pieces.
- Main route. Trace one continuous line from the primary entry to the room's most-used destination. Give that route a width based on the household's real movement needs.
The current Monvane Sofa Size Guide uses 30 inches or more for a main walkway, 16–18 inches between sofa seating and a coffee table, and 2–6 inches behind a sofa where that gap is part of the plan. These are planning targets, not building or accessibility standards. A household may need more, and a door, mobility aid, high-traffic turn or product instruction can change the answer.
Place the anchor piece first
Piece A is the seat that must serve the room's primary daily use. In a media room, it is normally the piece that gives the regular viewers the most direct screen relationship. In a conversation room, it may be the longer piece that establishes the main seating line. In an open plan, it may be the piece whose back defines the lounge boundary without cutting the route.
Position Piece A from its front-center anchor, not from the nearest wall corner. Aim its facing arrow at the primary focal line, then check the entire outside rectangle against windows, doors, tables and routes. A larger sofa usually makes the stronger visual anchor, but the category name does not decide: an unusually deep loveseat can control more floor area than a shallower sofa.
Do not use Piece B to correct a poor Piece A position. If the anchor blocks the route, forces the primary users to turn away from the focal point or leaves no usable relationship zone, move or rotate Piece A before continuing.
Choose one relationship for Piece B
Choose the relationship before fine-tuning inches. Each option gives Piece B a different job; none is the universal best layout.
Use an open L for mixed viewing and conversation
Turn Piece B roughly perpendicular to Piece A and keep one side of the group open to the main route. This is often the most adaptable arrangement for a sofa and shorter loveseat because Piece A can hold the main focal line while Piece B creates an inward conversation position without closing the entire room.
Place the shorter piece at the end that does not guard the primary entry. Compare the front-center anchors and the inside corner; do not push both backs to walls merely to make their outer arms line up. The layout fails if the inside corner becomes a dead pocket, the short piece crosses the focal line, or the open side no longer functions as the route.
Use face-to-face for a conversation-first room
Aim the two facing arrows toward one shared center. If the sofa and loveseat have different widths, align their front-center anchors with the center of the table or conversation zone rather than matching one pair of arms. That keeps the relationship intentional without pretending unequal pieces are symmetrical.
This route needs enough room for both full depths, both seating-to-table gaps, the complete table and a way into the group. It is strongest when conversation is primary and the screen or fireplace does not force every regular sitter to turn sideways. Two equal sofas can create a formal pair, but their equal size does not eliminate the route calculation.
Use back-to-back only when both sides earn a purpose
Back-to-back seating can divide an open plan into two activity zones—for example, a conversation area on one side and a reading or media direction on the other. Each piece needs its own useful focal relationship, access route and usable sitting positions. The visible backs also become part of the room, so check their real finish rather than relying on a front-only product image.
Do not assume the backs may touch or that an arbitrary gap is safe. Follow the exact product instructions and preserve any access needed for curtains, outlets, vents, cleaning or movement. If only one side has a real use, back-to-back placement spends floor area without completing a second room task.

Draw the route and table as separate zones
Do not treat the empty center as spare space. A face-to-face layout may need two seating gaps plus the table depth. An open L needs a table relationship that works from both pieces without spilling into the open side. A back-to-back plan needs a route into each activity zone rather than a single attractive aerial outline.
| Zone | Draw it from | The layout fails when |
|---|---|---|
| Furniture shells | Exact outside width and depth of Piece A and Piece B | An arm, back or corner enters a fixed or route zone |
| Working seat fronts | The front edge from which people sit, stand and reach | A table, rug edge or second piece prevents the regular transition |
| Shared center | Complete table footprint or the clear conversation center | Only one piece can reach or visually join the center without blocking movement |
| Main route | One continuous household path, including its turns | People must edge sideways, move an object or pass through a sitting position |
| Secondary access | Curtains, outlets, vents, cabinets and cleaning access | Normal room service requires moving the layout every time |

Draw the table from its real widest and deepest points, not its top's apparent shape in a photograph. Include any nesting extension, drawer opening or base that affects feet. A rug can visually unite the pair, but it cannot make a blocked route pass. Test the furniture and movement zones first; style the remaining floor second.
Work a face-to-face example
Consider a hypothetical usable room 180 inches long by 144 inches wide. The plan uses two exact current Monvane Chenille loveseats, each listed at 69.3 inches wide by 43.3 inches deep, facing across a hypothetical 20-inch-deep coffee table. Use the low end of Monvane's current 16–18-inch seating-to-table target for this first calculation.
| Part of the band | Depth |
|---|---|
| Piece A | 43.3 inches |
| Seat-to-table gap A | 16 inches |
| Coffee table | 20 inches (hypothetical) |
| Seat-to-table gap B | 16 inches |
| Piece B | 43.3 inches |
| Complete band | 138.6 inches |
The arithmetic is 43.3 + 16 + 20 + 16 + 43.3 = 138.6 inches. Placed along the 180-inch room axis, the band leaves 41.4 inches. If that entire remainder can form one unobstructed behind-sofa route, it exceeds Monvane's 30-inch planning target. If it is split behind both pieces, interrupted by a door swing or needed for curtains and heat, the same outline may fail.
Along the 144-inch cross-axis, the two 69.3-inch-wide pieces leave 74.7 inches beyond their shared width. That number does not tell you where the entry, end access or table approach belongs. Place the group on the actual room card, assign the 41.4-inch remainder and the 74.7-inch end remainder to named jobs, then retest. Worked example—not a universal room plan.
Run the occupied-room test
Tape both exact outside rectangles, their seat-front lines, the relationship zone and the main route. Use boxes or chairs only when they preserve the correct obstruction; a strip of tape alone does not show what a 43-inch-deep back blocks at body height. Then rehearse the room in its normal state.
- Enter and cross. Carry a laundry basket, bag or other routine object through the main route without entering a sitting position.
- Sit every regular user. Confirm that both pieces provide the intended positions at the same time; listed capacity is not a substitute for the household test.
- Use the shared center. Reach the real or taped table zone from both pieces without dragging it into the route.
- Check the primary view. Use the screen, fireplace, window view or conversation center from the positions that matter; note any forced repeated neck or body turn.
- Operate the room. Open doors and cabinets, adjust curtains, use outlets and pass behind or around the group as planned.
- Reset after peak use. Stand, leave, return and restore the room without moving a sofa or inventing temporary storage for the table.
The layout is complete only when the six-field card matches the taped room, every regular position and primary sightline works, the shared center is usable, the main route remains continuous and no decisive product or service-access condition is unresolved.
Change the relationship before shaving the route
Do not recover from a failed plan by quietly shrinking a route, deleting a door swing or measuring from a cushion instead of the outside shell. Preserve the exact inputs and change one higher-level choice at a time:
- Move the whole two-piece group away from the fixed conflict.
- Rotate or shift Piece B while keeping Piece A's primary use intact.
- Change the relationship: face-to-face to open L, open L to another open side, or back-to-back to one shared center.
- Change the table size or type, then redraw its complete operating zone.
- Replace one piece with an exact shallower or shorter candidate and restart the card from its published dimensions.
Sources and scope
The current Monvane Sofa Size Guide, Loveseat Sofa(Chenille) page and Loveseat Sofa (2 Seater) page were checked August 14, 2026. The layout card, three relationship routes, worked example, occupied-room test and recovery order are Monvane editorial planning tools—not building or accessibility standards, architectural plans, ergonomic rules or fit guarantees. Exact product dimensions, current instructions, the physical room and household movement needs control the final arrangement.