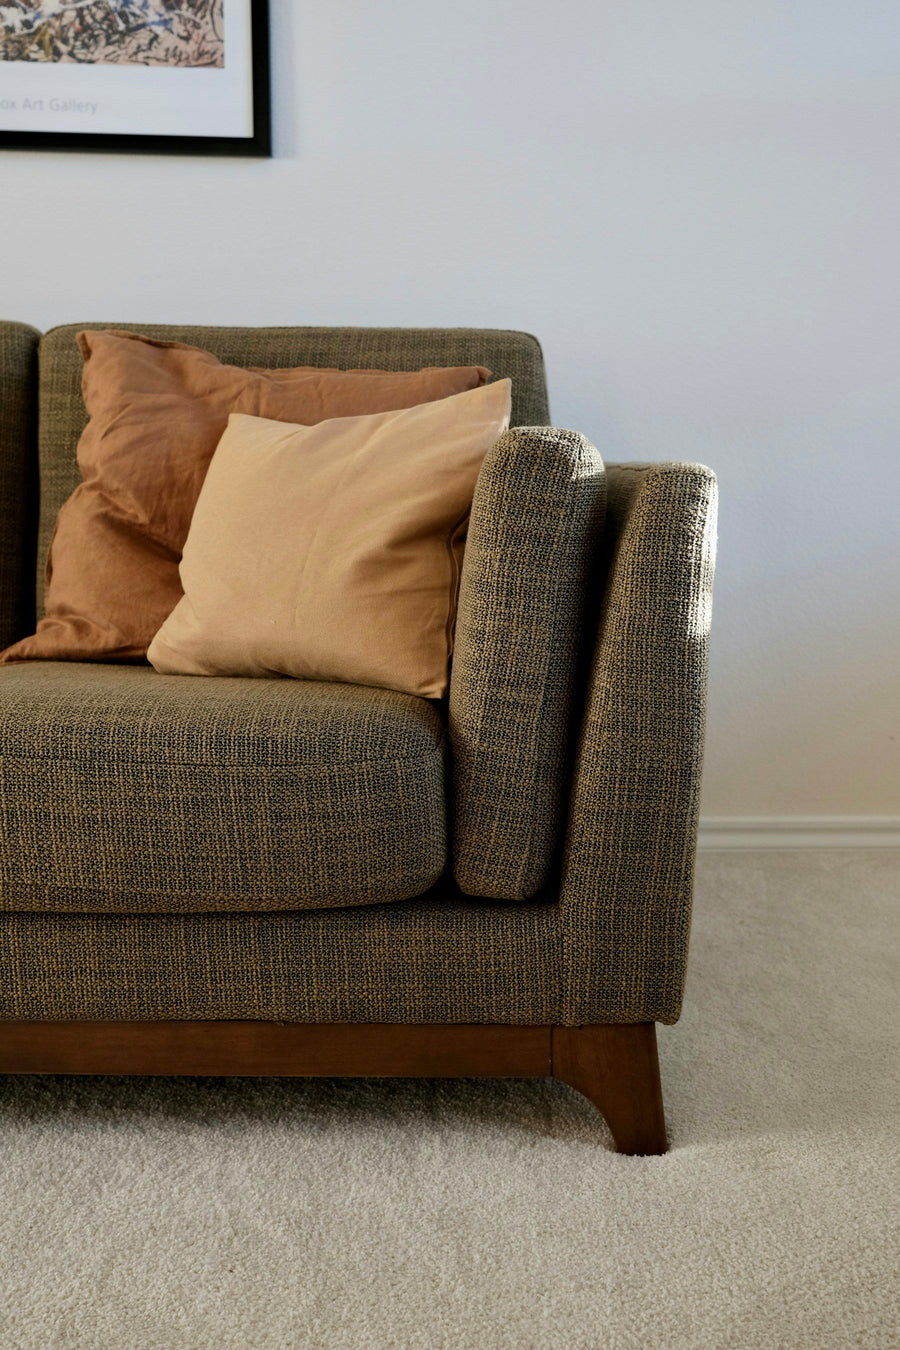


Sectional Sofas
How to Slipcover a Sectional Sofa: Step-by-Step Care Guide
Install a compatible fitted sectional cover kit without guessing: match its pieces to the sofa, use the correct replacement or overlay route, and check closures, access and seated fit.
On this page
To slipcover a sectional sofa, match the kit’s pieces to the actual sections, confirm whether they replace the old covers or fit over them, and place the frame covers loosely. Align the intended seams and corners, fit separate cushion covers where supplied, then finish the closures. Check coverage after sitting—not just on the empty sofa. Stop if a piece needs force or blocks the sofa’s normal functions.
This step-by-step care guide is for fitting a ready-made or custom kit already confirmed for your exact sectional. It is not a sewing pattern, a bed-sheet drape or permission to remove fixed upholstery. If you still need a compatible kit, start with the couch-cover buying guide.
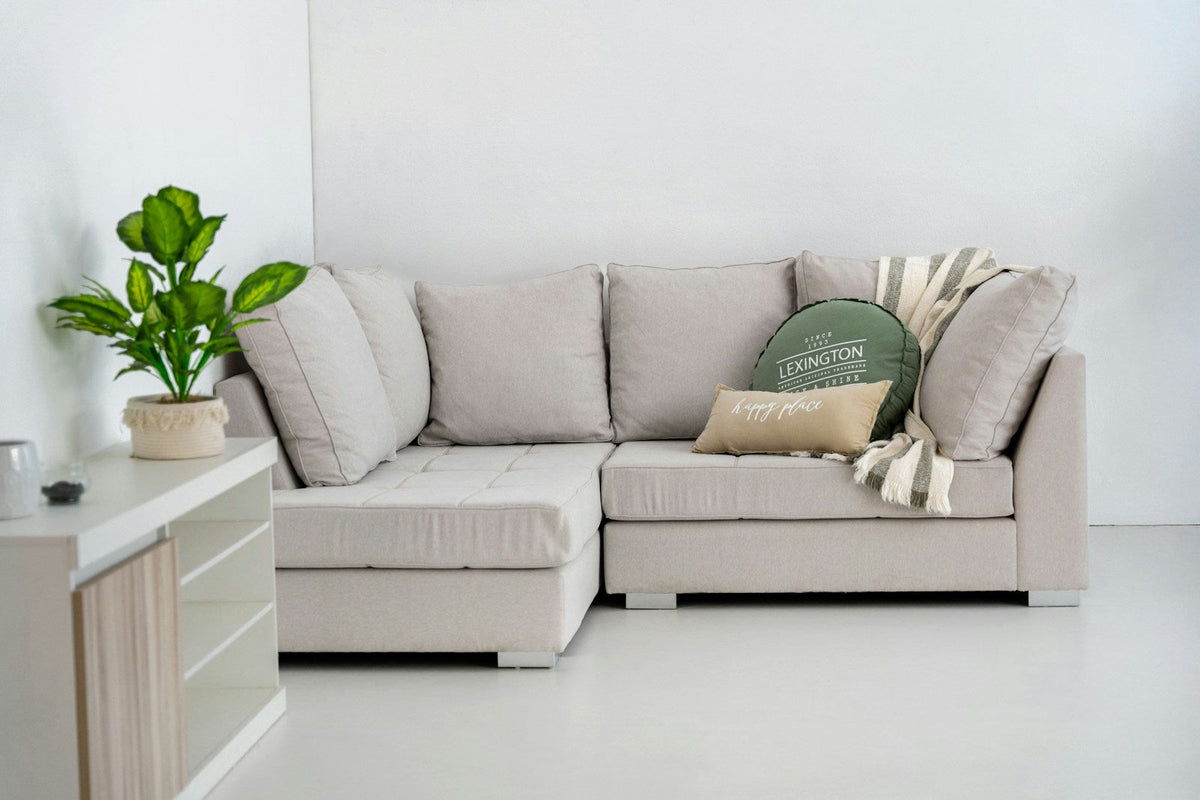
The featured photograph shows a chaise, frame and cushion boundaries you can identify before fitting; it does not establish cover compatibility or removability. Photo: Costa Live / Unsplash.
Before removing anything, choose replacement or overlay
Replacement and overlay are different starting states. Use the route specified for the kit and sofa together:
- Replacement kit: remove only the original covers identified as removable and replaceable in the instructions. Keep the intended cushion inserts and other underlying layers in place.
- Overlay kit: retain the upholstery the kit is designed to cover. Do not strip fixed fabric or add extra layers that the fitting directions do not allow.
- Unknown route: pause. A zipper, a loose-looking cushion or the word “sectional” cannot settle this question.
Keep the sofa and all cover pieces dry. Have the kit’s piece list and installation directions beside you, with a phone for starting photographs and a clean surface for laying out pieces. Remove loose objects and decorative throws; remove functional cushions only where the fitting instructions call for it. Clear enough space to reach the intended fitting surfaces.
Check whether installation requires separating sections or removing an arm or leg. Do not assume it does. When it does, obtain the exact sofa procedure and any required help before starting; this guide does not supply a universal connector or lifting motion. A sleeper, recliner or powered section also needs explicit cover compatibility for its moving parts, not merely a size match.
Our fitting advice below keeps placement adjustable until the pieces and contours are right. The exact kit’s order and attachment method take precedence where they differ. For a Monvane sectional, ask Monvane Support to clarify unresolved removal or fitting requirements for the model and proposed kit.
Match pieces before stretching anything
Photograph the assembled sectional, then identify each kit piece on that photograph using its label or supplied diagram. Label the chaise side from the seller’s stated viewpoint rather than guessing what “left” means. The table below lists landmarks to check—not components every kit includes.
| Cover piece, if supplied | Match it to | Check before fitting |
|---|---|---|
| Frame or arm section | The documented straight run and arm end | Front/back labels, arm shape and intended lower attachments; a joined frame cover may replace several separate pieces |
| Chaise | The long projecting section | Its full length, arm side if present, front corners and any separately covered cushion |
| Corner or wedge | The turn between seating runs | The actual angled or curved contour and both adjoining edges; do not substitute a straight-seat piece |
| Seat and back cushions | Each named cushion, not just one of similar size | Shape, face, piping, backing and closure position; keep seats and backs in their recorded locations |
If a piece is missing, unidentified or for the wrong side, stop before removing the old cover. Send the seller the whole-sofa photograph, kit label and the piece you cannot place.

Install the sectional covers in order
Prepare the starting state
- Record the original arrangement. Photograph cushion positions, visible seams and intended fasteners. Set aside only the cushions or parts the instructions identify for removal, keeping each with its location. Note existing seam or closure damage rather than covering it up.
- Open the intended closures fully. For a replacement kit, release and remove the approved old covers in the documented order. For an overlay, leave the required upholstery in place. Do not pull through resistance, undo structural fasteners or peel away an unidentified lining.
Fit the frame loosely before finishing closures
- Place the assigned frame pieces. Work in the kit’s section order. Find the front, back and arm landmarks and lay the piece over its target without fastening it tightly. Seat each shaped corner on the corresponding corner of the sofa. Do not fully tighten one side while the opposite corner is still outside its panel.
- Distribute fabric around the contours. Smooth broad panels by hand, moving small amounts of slack toward the corner or edge that still needs them. Keep intended seams and piping at their matching edges. At the chaise, check the projecting front corners as well as the straight run. At the inside corner, guide the intended panel into its contour rather than stretching fabric across the hollow. Use tucks only where the kit specifies them; do not push fabric into hidden joints or mechanisms.
Dress cushions and restore the usable sectional
- Fit separate cushions where specified. Keep each cover with its assigned cushion. In the replacement route, remove the approved old cushion cover; in an overlay route, retain the layers the kit requires. With the new closure open, guide one cushion corner at a time into its matching pocket, then distribute the remaining fabric over the face and edges. Stop if an attached layer or unfamiliar tether resists.
- Finish only the intended fasteners. Once corners and seams are aligned, close cushion zippers and the kit’s frame closures or attachments as directed. Keep fabric clear of the closure. A zipper that needs to pull two distant edges together is not a fit adjustment. Do not add adhesive, staples, pins or homemade straps to rescue a mismatch.
- Return the sections and cushions to their documented positions. If fitting required approved disconnection, restore the exact sofa’s connection or alignment method before use. Keep cover material clear of its intended interfaces. Do not cut access holes or connect through trapped fabric. Leave storage openings and controls accessible only as the compatible kit specifies.
Check the inside corner again after sitting
Start with the empty, normally assembled sofa. Intended seams should follow their edges without a new diagonal pull; corners should reach their positions without force. Closures should remain closed without straining, and hems should not trail onto the walking route. Compare each cushion with the starting photograph.

Then sit and stand as you normally would on the straight seats and chaise, and use the corner seat if it is intended for seating. Look again at the inside turn, chaise front edge and cushion seams. Did a corner pull free, a hem rise, a panel bridge the hollow or a closure become strained? Release the relevant adjustment and correct it before trying again.
Keep the sofa’s documented access and functions usable. Do not operate a moving section through an unapproved cover. If a previously permitted opening or adjustment is blocked, stop and resolve compatibility rather than testing harder. This is a visible fitting check, not proof of hidden structural condition or long-term durability.
When the cover will not fit, release tension first
| What you see | Next check | Stop when |
|---|---|---|
| One panel is short while another has surplus | Release adjustable tension; recheck piece assignment, front/back orientation and whether all shaped corners are seated | The correctly assigned piece still cannot reach without force |
| Diagonal pulling or displaced piping | Loosen the intended attachments and redistribute fabric across the panel before closing them again | Seams begin opening or the intended alignment cannot be restored |
| Zipper binds or edges will not meet | Stop the slider; check trapped fabric and cushion orientation, with the opening relaxed | The closure is damaged or still needs pulling force |
| Inside corner bridges or bunches after sitting | Release nearby tension and seat the intended corner panel into its documented contour; repeat the seated check | The correct panel still leaves a tight bridge or an unusable sitting ridge |
| Cover blocks a connector, control or opening | Recheck the intended access position and exact kit compatibility | Access needs a cut, furniture alteration or an undocumented attachment workaround |
For an unresolved fit, stop installing and photograph the whole sectional, the affected piece and label, and the problem both loose and positioned. Ask the kit maker to confirm the assignment and next action. Do not wash, heat, stretch or trim a cover to correct an unidentified mismatch.
The finished cover stays assigned to its own section and retains coverage after the sitting check, without strained closures or obstructed access. Keep the piece list and starting photographs for later refitting. For cleaning, use the exact cover’s care instructions; the cushion-cover washing guide explains the separate wash, dry and refit decision.
FAQ: Fitting and caring for sectional slipcovers
Should I wash a new slipcover before installing it?
Do not wash a new kit merely to make installation easier. Prewash only when its instructions require or permit that treatment, and complete the specified drying process before fitting unless a specific refitting instruction says otherwise. Keep the care record for the exact fabric; a removable cover is not automatically machine-washable.
Can one large cover fit an L-shaped sectional?
Only when the cover is designed and confirmed for that shape and configuration. A single fitted piece can be a legitimate kit design, but a generic rectangle does not become one by stretching it across the inside turn. Match the listed shape and actual instructions; do not replace missing corner or chaise pieces with spare fabric.
Can I switch the chaise to the other side after fitting?
Check both the sofa and cover kit before changing the layout. Even when the sofa permits a different arrangement, the fitted covers may have side-specific arms, seams or openings. Confirm the new piece assignment and any cover-removal requirement, then repeat the closure, access and seated-fit checks in the new arrangement.
Can I make my own sectional slipcover instead?
That is a separate pattern-making and sewing project. It needs a pattern for the actual sections, fabric and seam allowances, planned openings and a fitting trial; this installation sequence does not supply those measurements or a cutting pattern. If you commission one, ask the maker to identify every piece and demonstrate its removal and refitting before accepting the finished set.