


Couch Disassembly
How to Break Down a Couch? Safe Step-by-Step Guide
A model-first guide to separating only approved couch parts, recording every interface and completing a safe, verifiable reassembly.
On this page
To break down a couch safely, first identify the exact model and check which parts the manufacturer says are removable. This safe step-by-step guide starts with permission, not a tool: photograph the starting state, clear and measure the route, then release one approved interface at a time in the published order. Label the part and hardware immediately. Stop if the guide is missing, resistance increases, or you encounter upholstery access, an unidentified cable, spring, gas strut or mechanism. The job is complete only when every separated unit is stable and protected—and the reassembled couch matches the baseline with every part accounted for.

First decide whether this couch should come apart
In this guide, break down means model-approved separation into smaller, stable units—not demolition. Loose cushions and accessories can be removed. A leg, back, arm, seat or module is owner-removable only when the exact model guide names it and shows how to release and restore it.
Treat every other part as fixed. A zipper, hook-and-loop closure, fabric flap, exposed bolt or seam may serve manufacturing, upholstery or service access; visibility is not permission. Cutting fabric or frame members, pulling staples, opening a spring deck, disconnecting unidentified wiring or dismantling a recliner or sleeper mechanism sits outside this generic owner procedure.
If the model label or instructions are unavailable, save clear photos of the full couch and any label, then ask the manufacturer to identify the exact model and removable interfaces. Monvane accepts setup and product questions through its Support Center. Do not use a similar-looking online video as a substitute.
Choose the correct architecture branch

| Architecture | Owner-level route | Do not infer |
|---|---|---|
| Fixed or one-piece | Remove loose items. Keep the structural unit intact unless the exact guide identifies a part and release method. | That a visible fastener makes an arm, back or frame removable |
| Hardware-assembled stationary couch | Follow the exact maker's part order, tool and fastener instructions. | That disassembly is automatically the assembly sequence in reverse |
| Modular or sectional | Separate only the documented module interfaces. Use the sectional disassembly guide for connector-level depth. | That all modules lift, slide or unclamp in the same direction |
| Boneless or no-assembly foam system | Move independent units and loose accessories as the product page instructs. | That foam, upholstery or concealed layers may be cut, compressed or opened |
| Sleeper or convertible | Close, secure or unfold only through the exact documented operating sequence. | That normal conversion grants permission to remove a mechanism |
| Powered or reclining | Use the exact manufacturer's isolation and disassembly guide or qualified service. | A generic unplugging, wiring or mechanism-removal sequence |
Exact systems really do differ. Lovesac's current Sactionals instructions name Shoes, Feet and U-shaped steel Clamps for that system, while its powered Reclining Seat publishes a separate isolation and mechanism sequence. Neither method transfers to a Monvane couch or another brand. Find the architecture before the fastener.
Create one interface ledger
An approved interface must leave a restoration path. Start one row before releasing it; do not open the next connection until that row is complete.

| Field | Record before moving on |
|---|---|
| Interface ID | Exact part names and the manual step—for example, “left arm to seat frame, guide step 6” |
| Orientation | Front, back, left/right and installed direction; use a removable label where the maker permits |
| Starting state | One full-context photo and one close image of the connection, hardware or documented cable route |
| Approved release | Exact motion, tool, fastener count and order copied from the model instructions |
| Hardware group | Counted, photographed and placed in a labeled container for this interface only |
| Separated result | Unit name and stable supported resting position; dimensions or handling points only if documented |
| Restore check | Orientation, hardware count, alignment, stability and normal supported function after reassembly |
A ledger does not make an undocumented part removable. It preserves evidence only after the exact guide has granted that scope.
Prepare the room, route and parts station
Gather the exact model guide, labels, a marker, separate hardware containers, a camera, floor and corner protection, and only the tools the guide names. Clear people, pets and loose objects from the work and exit zones. Choose a flat place where each separated unit can rest without leaning on a connector or finished edge.
Measure each opening and turn against the dimensions of the actual separated unit, not the assembled couch or a category average. Include door hardware, trim, railings, ceiling limits and the space needed to rotate. The narrow-door moving guide covers object, opening and pivot geometry in detail.
A smaller unit is useful only if it remains stable and controllable. NIOSH workplace guidance identifies bulky loads, twisting while carrying and awkward postures as risk factors. It does not supply a household couch weight limit or universal helper count. If a unit shifts, blocks a safe view, lacks a secure handling point or cannot be controlled along the route, stop and use suitable moving equipment or qualified help.
Break the couch down in eight controlled steps
- Identify the exact couch. Match the label, model, configuration and current manual. Confirm whether the guide covers disassembly for moving or only first assembly.
- Record the baseline. Photograph the full front, back and sides; the floor contact; cushion and module order; visible gaps; powered-cable routing; and normal supported position.
- Return functions to the documented transport state. Empty storage, remove bedding and close or lock a convertible feature only as the exact operating guide says. Do not invent a powered-product isolation step.
- Remove loose accessories. Bag feet protectors, pillows, cushions, covers or trays only when they are truly loose or explicitly removable. Label their installed locations.
- Expose only the documented interface. Move the couch only into the exact supported access position. Do not open upholstery closures or peel fabric to search for hardware.
- Release one approved interface. Use the specified tool, direction and order. Support the parts before the connection is free. Increasing resistance is information, not permission to add force.
- Close the ledger row. Count and bag hardware, photograph the released surfaces, label orientation and confirm the separated unit is stable. Do not mix hardware from two connections.
- Protect the unit. Cover finished surfaces without putting adhesive on upholstery or finish. Keep connectors, edges and documented cable ends from carrying the unit's weight.
Repeat steps 5–8 only for the next approved interface. If the route works after the first separation, you do not gain anything by dismantling further.
Move and store the separated units
Move one stable unit through the measured route while the path remains clear. Keep its orientation label visible. Do not lift from a loose cushion, decorative trim, connector, cable or moving mechanism. Protect walls and doorframes separately rather than using an unattached cushion as an improvised grip or spacer.
At the destination, place units in reassembly order. Keep each hardware container with its interface record, not loose inside the couch. Avoid stacking weight on upholstery, connectors or mechanisms unless the exact manufacturer permits that storage position.
Reassemble and verify the completed state
Use the manufacturer's restoration sequence; do not assume every step simply runs backward. Match part labels and orientation to the baseline, install only the original grouped hardware, and follow exact alignment or tightening instructions. Never substitute a longer fastener or add force to close a gap.
Reassembly is complete only when all of the following are observable:
- every recorded part and fastener is accounted for, with no unexplained piece left over;
- interfaces, gaps, feet and floor contact match the baseline and exact guide;
- each unit is stable, aligned and free of rocking under the maker's normal supported check;
- documented cables or mechanisms follow their exact routing and operation sequence; and
- a normal, supported function check passes without new noise, binding, movement or visible damage.
If any condition fails, do not use the couch. Return to the last documented stable state or send the model, ledger row and photos to the manufacturer or qualified service provider.
Stop conditions and recovery
| What you observe | Immediate action | Recovery route |
|---|---|---|
| Part does not release as shown | Stop before adding force; support it in the last stable position | Reconfirm model, orientation, guide step and whether a second documented fastener remains |
| Zipper, hook-and-loop flap or hidden upholstery appears | Close or leave it undisturbed | Ask whether it is owner access; do not infer from visibility |
| Wire, spring, gas strut or mechanism appears | Stop and prevent movement | Use the exact service guide or qualified support |
| Fastener turns but will not withdraw | Stop; do not drill, extract or enlarge the hole | Return it to the last secure state and request exact-product guidance |
| Separated unit rocks or folds | Set it down on a supported surface; do not carry it | Check whether another documented support or connection must remain installed |
| Hardware remains or the couch rocks after reassembly | Do not sit, recline, convert or power the couch | Compare the ledger and baseline, then escalate with photos if the mismatch remains |
Current Monvane examples show why the branch matters
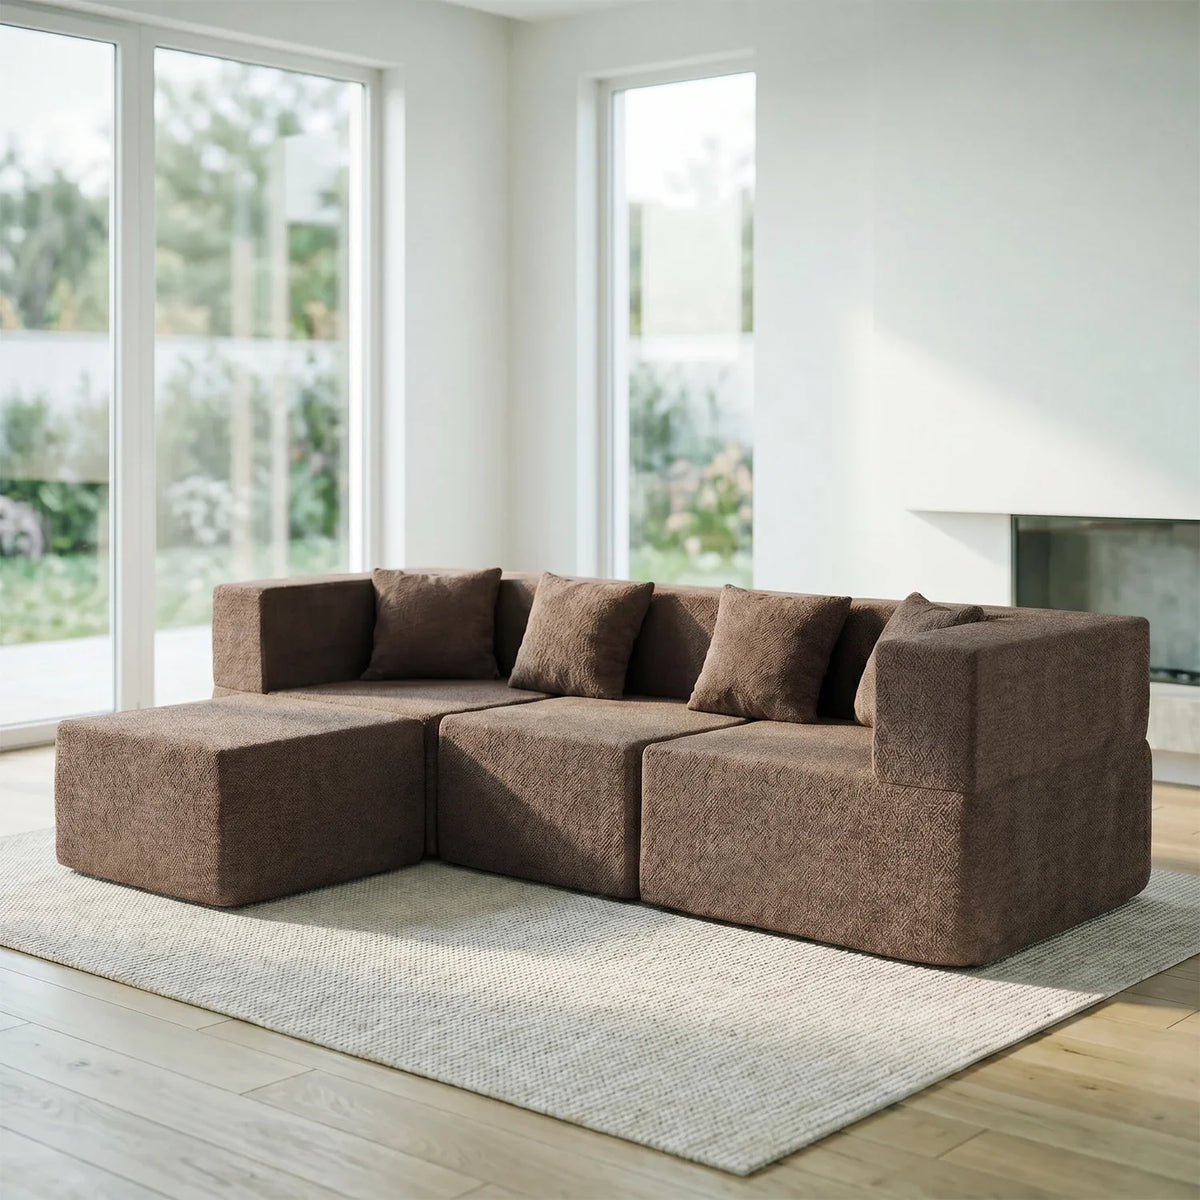
The current Monvane L-Shaped Modular Couch page describes a boneless, no-assembly design delivered in two packages: unbox the sections, position them and allow the foam to expand. That supports moving its documented independent units. The reviewed public page does not name hidden connector hardware or grant permission to open upholstery or foam, so the owner boundary ends at the units the page identifies.
The current Monvane Oversized Sofa Bed is also no-assembly, but its page describes a 3-in-1 foam product that is unboxed, unfolded and allowed to expand. Normal conversion is not structural disassembly. Follow its supported operating positions; do not cut, compress or dismantle hidden material to make the unit smaller.
These records were checked August 18, 2026. “No assembly required” describes setup, not universal teardown permission. When the exact page does not answer a removal question, the correct next step is clarification—not another tool. A safe step-by-step couch breakdown guide therefore ends where model-specific permission ends.
Sources and scope
This guide uses current first-party instructions for two deliberately different Lovesac systems to demonstrate connector and powered-mechanism variation; those steps do not transfer to Monvane. The linked Monvane product and Support pages were checked August 18, 2026. NIOSH material-handling guidance is cited only as general workplace risk context, not a household safe-weight rule, medical recommendation or helper-count standard. The architecture branches and owner boundary are Monvane editorial decision tools, not a substitute for the exact manufacturer's instructions. The interface ledger is a Monvane editorial record—not a manufacturer disassembly instruction or engineering approval.